


Concealer is a powerful product. However, its potential is frequently undermined by application. When applied incorrectly, it can appear obvious, “cakey,” or settle into fine lines. The key to unlocking its “second-skin” potential lies not in the formula alone, but in mastering the right tool for the job: the concealer brush.
This guide moves beyond basic application. We will explore the technical advantages of using a brush, how to select the precise tool for your needs, and the step-by-step professional techniques required to achieve seamless coverage.
Why Use a Brush Over Fingers or a Sponge?
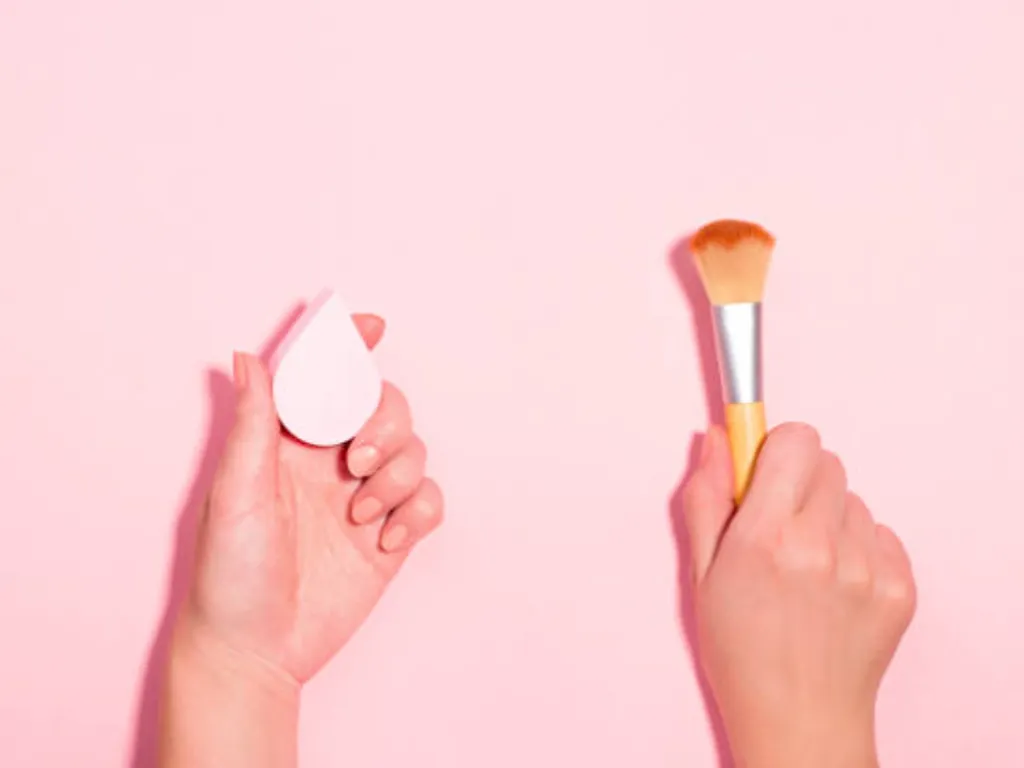
The choice of applicator is the first and most critical decision in your concealing process. While fingers and sponges have their place, a high-quality brush offers a level of precision and performance that the others cannot match.
- Fingers: The warmth from your fingertips can help “melt” a product into the skin, which is useful for very creamy formulas. However, this method has significant drawbacks. It is the least hygienic, transferring oils and bacteria from your hands to your face (and product). More importantly, fingers are imprecise. They tend to sheer out and move product rather than depositing it, resulting in a loss of coverage and a potentially patchy finish.
- Makeup Sponges: A damp sponge is excellent for creating a sheer, airbrushed finish, particularly over large areas like the under-eye. Its primary flaw, however, is product absorption. Sponges, by nature, soak up a significant amount of your liquid or cream concealer, leading to product waste. They also lack the pinpoint accuracy required to cover a small blemish without creating a “halo” of product around it.
- The Concealer Brush: This is the professional’s choice for one simple reason: control. A brush allows for:
- Precision: It can place a high-coverage product exactly where it is needed and nowhere else.
- Coverage: It deposits pigment without sheering it out, achieving maximum coverage with minimal product.
- Hygiene: It is easily cleaned and keeps your fingers (and bacteria) out of your product and off your face.
- Blending: A brush is designed to blend the edges of the concealer, not the entire patch, which is the secret to making the coverage invisible.
What Type of Brush Should I Use for Concealer?

The correct brush shape and density are entirely dependent on two factors: what you are concealing (a blemish vs. dark circles) and the formula of your product (liquid vs. cream).
Here is a simple chart to help you visualize which brush to use and when:
| Brush Type | Description | Primary Use | Best For (Product) |
| Flat, Tapered Precision Brush | Firm, flat, pointed tip | Pinpoint concealing blemishes, spots, scars | Liquid, Cream |
| Fluffy, Rounded Blending Brush | Soft, less dense, dome-shaped | Blending under-eye circles, covering redness | Liquid, Light Cream |
| Small, Angled Brush | Dense, slanted bristles | Corners of the nose, inner eye, brow definition | Liquid, Cream |
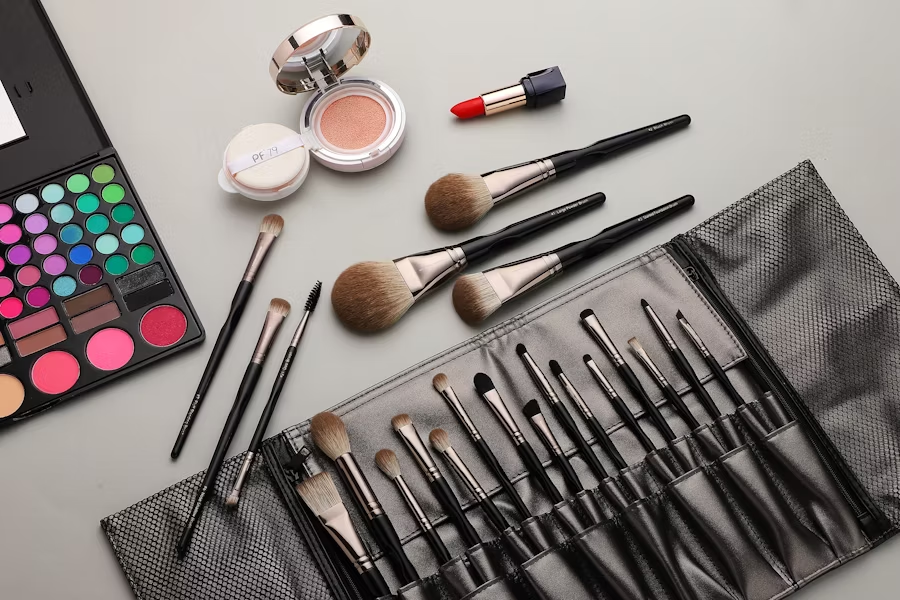
Finding the Best Concealer Brush for Your Needs
Once you understand the type of brush you need, you must assess its quality. The best concealer brush is not necessarily the most expensive, but the one that is constructed for performance. When evaluating a brush, look for these key components:
- Bristles: This is the most critical element. For liquid and cream concealers, synthetic bristles (such as Taklon or Nylon) are non-negotiable. Unlike natural hair, synthetic fibers do not have a cuticle, so they won’t absorb and waste your product. They are also more durable, easier to clean, and cruelty-free. The bristles should feel soft and flexible, yet firm enough to hold their shape.
- Density: The more densely packed the bristles, the more product the brush will deposit, and the higher the coverage it will provide. A dense, flat brush is for high-coverage spot concealing. A fluffier, less dense brush is for a sheerer, blended application.
- Shape & Ferrule: A quality brush will not shed its bristles. The ferrule (the metal band connecting the bristles to the handle) should be tightly crimped and feel secure. The brush head itself should be well-shaped and maintain that shape after washing.
- Handle: The handle should feel balanced and comfortable in your hand. This is not just aesthetics; a well-balanced handle provides greater control during precision application.
How to Use a Concealer Brush: Step-by-Step
Mastering the tool requires mastering the technique. The goal is to make the concealer look like a natural part of your skin. This is achieved through a deliberate, multi-step process.
Step 1: Prep Your Skin
You cannot conceal dry, flaky, or dehydrated skin. Makeup will only cling to and emphasize texture. Before you even pick up your brush, ensure your skin is well-hydrated. For the under-eye area, this is non-negotiable. Apply a hydrating eye cream and allow it to absorb fully for several minutes. A smooth, moisturized canvas is the key to preventing “caking” and “creasing.”
Step 2: Apply Product
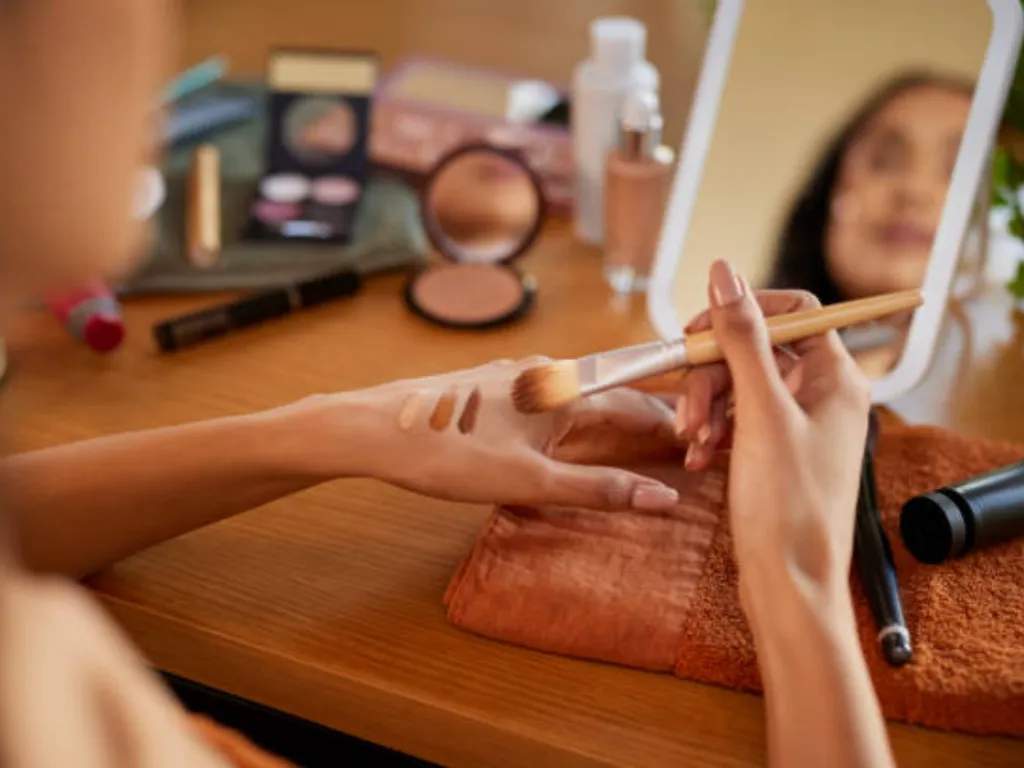
“Less is more” is the golden rule of concealing. It is always possible to add more, but it is very difficult to take away.
Apply a small amount of concealer directly to the skin in the areas you wish to cover. For a more controlled application, dispense the product onto the back of your hand. This warms the product slightly and allows your brush to pick up only a tiny amount at a time. Do not load the brush with a large glob of product.
Step 3: Tap and Stipple (Do Not Swipe)
This is the most common mistake. Never swipe, drag, or “paint” with your concealer brush. This action does not deposit coverage; it simply moves the product around, creating streaks and sheering it out.
The correct technique is stippling or tapping. Use the brush to make small, light, bouncing motions, pressing the product into the skin. This action deposits the pigment precisely where you placed it, building coverage and “stamping” it onto the target.
Step 4: Blend the Edges
The secret to an invisible conceal is not to blend the entire area. You want to keep the coverage concentrated on the blemish or dark circle. Your goal is to blend only the outer edges where the concealer meets your skin or foundation.
Using the very tip of your brush (whether it’s a flat brush or a fluffy one), use the same light tapping motion to gently blur that “line” of demarcation. This fuses the concealer with the surrounding skin, making it seamless.
Step 5: Set with Powder
To ensure your work lasts all day and does not crease (especially under the eyes), you must set it. Use a very small, fluffy brush and a finely milled translucent powder. Look down, and gently tap the powder over the concealed areas to lock them in place without adding texture.
Pro Techniques: Under-Eyes vs. Blemishes
The technique you use must adapt to the area you are concealing.
For Under-Eyes (Brightening & Coverage)
This area is defined by delicate skin and movement, making it prone to creasing.
- Brush Choice: Use a fluffy, rounded blending brush.
- Placement: Apply concealer in the “inverted triangle” shape. Place dots starting from the inner corner, down towards the top of your cheekbone, and back up to the outer corner. This shape not only conceals the darkness but also brightens and lifts the entire center of your face.
- Technique: Use the fluffy brush in a rapid, light stippling motion. Start at the inner corner and blend outward and downward, diffusing the product over the entire triangle. Avoid packing product too close to your lower lash line, as this is where creasing is most likely to occur.
For Blemishes (Precision Coverage)
This requires the opposite approach. The goal is maximum coverage in a minimum area.
- Brush Choice: Use a small, flat, tapered precision brush.
- Placement: Use a concealer that perfectly matches your skin tone, not a brightening one. Pick up a tiny amount of product on the very tip of your brush.
- Technique: Apply the concealer directly onto the blemish. Do not circle it. Let the concealer sit on the skin for 30-60 seconds to thicken slightly. Then, using your precision brush, gently tap only the edges of the spot to blend it into the surrounding skin. Do not touch the center of the blemish, as this will lift the pigment you just placed. This “pinpoint” method covers the spot without creating a noticeable patch.
Avoiding Common Mistakes (Like Caking & Streaks)
If you are frustrated with your results, you are likely making one of these common errors.
- The Mistake: Using too much product.
- The Fix: Start with the smallest amount and build in thin layers only if necessary.
- The Mistake: Swiping or dragging the brush.
- The Fix: This will always create streaks. You must use a tapping or stippling motion.
- The Mistake: Using the wrong brush.
- The Fix: Using a big, fluffy brush on a tiny pimple will only spread the concealer, creating a “halo” effect. Using a tiny, flat brush for your under-eyes will take too long and result in a patchy, unblended finish.
- The Mistake: Applying to un-prepped skin.
- The Fix: Your concealer and brush cannot fix dry, flaky skin. Always hydrate and prime the area first.
- The Mistake: A dirty brush.
- The Fix: A brush caked with old, dry product cannot blend. It will leave a streaky, uneven application.
Cleaning and Caring for Your Concealer Brush
A clean brush is essential for both hygiene and performance. Because it’s used with cream products and often on active blemishes, a concealer brush should be cleaned frequently.
- Frequency: Ideally, you should spot-clean your concealer brush after every use and give it a deep clean at least once a week.
- How to Clean:
- Wet the bristles (pointing downwards) with lukewarm water.
- Dispense a gentle brush cleanser or soap into your palm or onto a brush cleaning mat.
- Gently swirl the brush into the cleanser, working up a lather.
- Rinse the bristles thoroughly under running water, keeping the bristles pointed down to avoid water seeping into the ferrule (which can loosen the glue).
- Gently squeeze out excess water with a clean towel, reshape the brush head, and lay it flat on the edge of a counter to air dry.
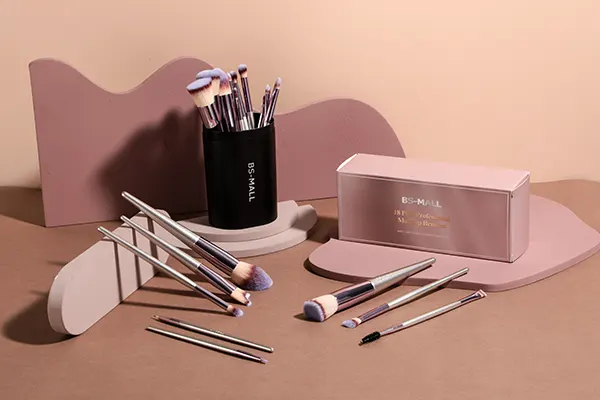
Choosing a Professional Cosmetic Brush Brand
For makeup artists, beauty brands, or enthusiasts who demand professional-grade tools, the source of your brushes matters. A professional supplier focuses on technical specifications that ensure consistent performance: bristle quality, density calibration, ergonomic design, and durable construction.
This is particularly true for OEM/ODM clients, where the brush becomes an extension of the brand’s identity and quality promise.
For high-quality brush solutions or to elevate your personal collection, visit us at https://bsmallbeauty.com/.