Every makeup lover knows the importance of a flawless foundation application. Whether you’re rushing out the door or getting ready for a special occasion, the right technique can make all the difference. When it comes to foundation application, two popular tools often come into play: the beauty blender vs kabuki brush. In this makeup guide, we will explore how to use each tool for foundation effectively, highlight its unique benefits, and help you choose the perfect one for your beauty routine.
Kabuki Fırçası Nasıl Kullanılır??

Alright, beauty lovers, let’s talk about the kabuki brush! This little wonder is like the Swiss Army knife of makeup tools. It’s versatile, easy to use, and can give you that flawless foundation finish we all crave. Ready to dive in? Here’s how to use it like a pro!
- Choose Your Foundation: First things first, grab your favorite foundation—liquid, krem, veya toz.
- Get the Product Ready: Squeeze a small dollop of liquid foundation onto the back of your hand or dip your brush directly into the powder.
- Load Up That Brush: Swirl your kabuki brush into the foundation. Make sure the bristles are coated but not dripping. You want enough to work with, but not so much that it looks like you’re applying cake frosting!
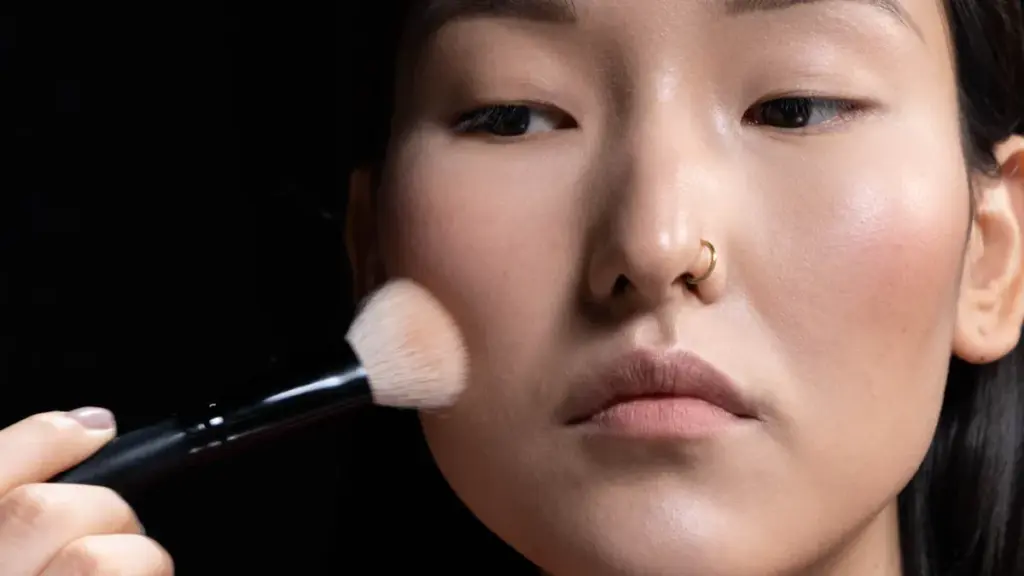
- Start Blending: Begin at the center of your face—forehead, cheeks, and nose. Use circular motions, almost like you’re buffing a car to a shine. This technique helps blend the foundation seamlessly, so it feels like a second skin.
- Build It Up: Daha fazla kapsama ihtiyacınız varsa, just layer it on! The kabuki brush is all about building without feeling heavy.
- Buff It Out: To finish, take a moment to lightly buff around the edges. This helps avoid any harsh lines, making your makeup look effortlessly flawless. We want that “I woke up like this” vibe, right?
- Keep It Clean: Finally, don’t forget to wash your kabuki brush after use. Treat it well, and it’ll treat you well in return! A little soap and water can work wonders to keep it soft and ready for next time.
What Kabuki Brush to Use?
There are so many options for the right kabuki fırçası and the fit one really matters! Here’s a quick guide to help you pick the best kabuki brush for your needs.
- Flat Kabuki Brush: If you love liquid foundations, this is your go-to! The flat bristles provide excellent coverage and help you achieve that smooth, even finish. It’s like the trusty flatiron of your beauty tools—perfect for straightening things out!
- Round Kabuki Brush: This one is fantastic for powders. Its fluffy bristles make it super easy to blend and diffuse, giving you a soft, havalı görünüm. Think of it as your makeup’s best friend for a lightweight finish, perfect for those no-makeup days!
- Açılı Kabuki fırçası: For cream foundations or contouring, an angled kabuki brush is a game-changer. The angle allows for precise application, helping you sculpt those cheekbones effortlessly.
- Mini Kabuki Brush: Don’t underestimate the power of a mini! Great for travel and touch-ups, these little brushes are perfect for getting into those hard-to-reach areas, like around the nose or under the eyes. They’re like your beauty pocket-sized superheroes!
So, which kabuki brush is calling your name? With the right one in your toolkit, you’ll be on your way to a flawless foundation application in no time!
How to Use a Beauty Blender?
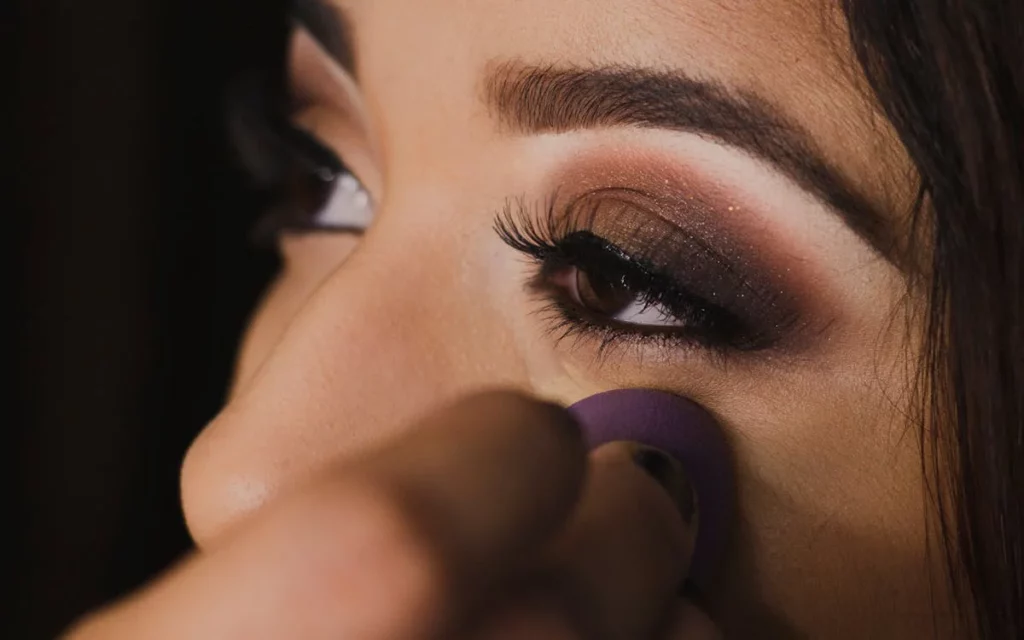
Now that we’ve mastered the kabuki brush, it’s time to turn our attention to the beauty blender! This little sponge is the secret weapon for achieving that dewy, flawless finish that’s all the rage. While the kabuki brush gives you coverage, the beauty blender takes blending to a whole new performance. Ready to dive in? Let’s make your foundation application effortless and stunning!
- Wet the Sponge: First things first—always start by wetting your beauty blender. Just run it under water until it expands, then squeeze out the excess. Why? Because a damp sponge helps blend your foundation like a dream, giving you that beautiful, dewy look.
- Prep Your Skin: While your sponge is soaking up the water, make sure your skin is prepped. A good moisturizer or primer will help the foundation glide on smoothly.
- Pick Your Foundation: Dispense a small amount of your favorite foundation onto the back of your hand. You can use liquid, krem, or even stick foundations. Whatever floats your boat!
- Dab, Don’t Swipe: Şimdi, here’s the fun part! Dip the rounded end of your damp beauty blender into the foundation. Then, gently press it onto your skin using a bouncing motion—almost like you’re playing a game of hopscotch! Start at the center of your face and work your way outwards. This helps blend the foundation flawlessly, leaving no streaks behind.
- Build Coverage: If you want a little more coverage in certain areas, just repeat the dabbing motion. The beauty blender is all about layering, so don’t be shy about adding more foundation where you need it!
- Use the Tip for Precision: The pointed end of the beauty blender is perfect for those tricky spots, like around your nose or under your eyes.
- Final Touches: Once you’re all blended, take a step back and admire your work. You should have a soft, natural look that’s just divine.
- Clean Your Sponge: Last but not least, don’t forget to clean your beauty blender regularly! A little soap and water will keep it fresh and free from bacteria. Nobody wants a funky sponge messing with their glow!
And there you have it! Using a beauty blender is simple and effective, giving you that gorgeous finish we all love. So grab yours, get blending, and let that radiant skin shine through!
What Beauty Blender to Use?
When it comes to Güzellik karıştırıcıları, the shape can make all the difference! Here’s a rundown of the different types to help you choose the right one for your makeup needs:
- Classic Egg Shape: This is the traditional beauty blender shape, perfect for general application. The rounded end is great for blending foundation and the pointed tip is ideal for those tricky spots around your nose and under your eyes. It’s like the all-around MVP of makeup sponges!
- Flat Edge Blender: If you want a more precise application, look for a beauty blender with a flat edge. This shape is fantastic for getting into the contours of your face and makes it easy to blend cream products or contour.
- Teardrop Shape: The teardrop shape is another popular option. The wider base allows for quicker application on larger areas, while the pointed end helps with details. This shape is perfect for achieving a seamless look all over your face.
- Mini Blender: These tiny sponges are fantastic for precision work. Use them for detailed areas like your under-eyes, burun çevresinde, or even for touch-ups throughout the day. Think of them as your makeup sidekicks, always ready for action!
- Multi-Sided Blender: Some beauty blenders come with multiple sides and shapes, making them incredibly versatile. These can have different textures or angles that cater to various makeup needs, giving you a complete toolkit in one sponge.
What Do I Wet My Beauty Blender With?
Wetting your beauty blender is a crucial step for achieving that flawless finish, but what should you use? Let’s break it down!
- Water: The most common and effective option! Just run your beauty blender under warm water until it expands, then squeeze out the excess. Warm water is fantastic because it helps the sponge absorb moisture without making it too soggy.
- Setting Spray: Want to amp up your glow? Use a makeup setting spray instead! This can add an extra layer of hydration and keep your makeup looking fresh all day. It’s like giving your face a little boost of radiance while you blend.
- Facial Mist: A hydrating facial mist works wonders too! Spritz your sponge before use for an added dose of moisture. Not only does it help with blending, but it also leaves your skin feeling refreshed.
- Primer Water: If you’re prepping your skin for makeup, using a primer water to wet your beauty blender can enhance the application. It helps create a smooth base for your foundation and gives that extra grip.
- Makeup Remover: For a more thorough clean, consider wetting your beauty blender with a gentle makeup remover. This is particularly useful if you’re switching between products or colors. It helps maintain your sponge while keeping it ready for the next application.
Hatırlamak, the key is to ensure your beauty blender is damp, not soaked! This way, it’ll blend beautifully without absorbing too much product.
Extra Tips: Apply with Your Fingers
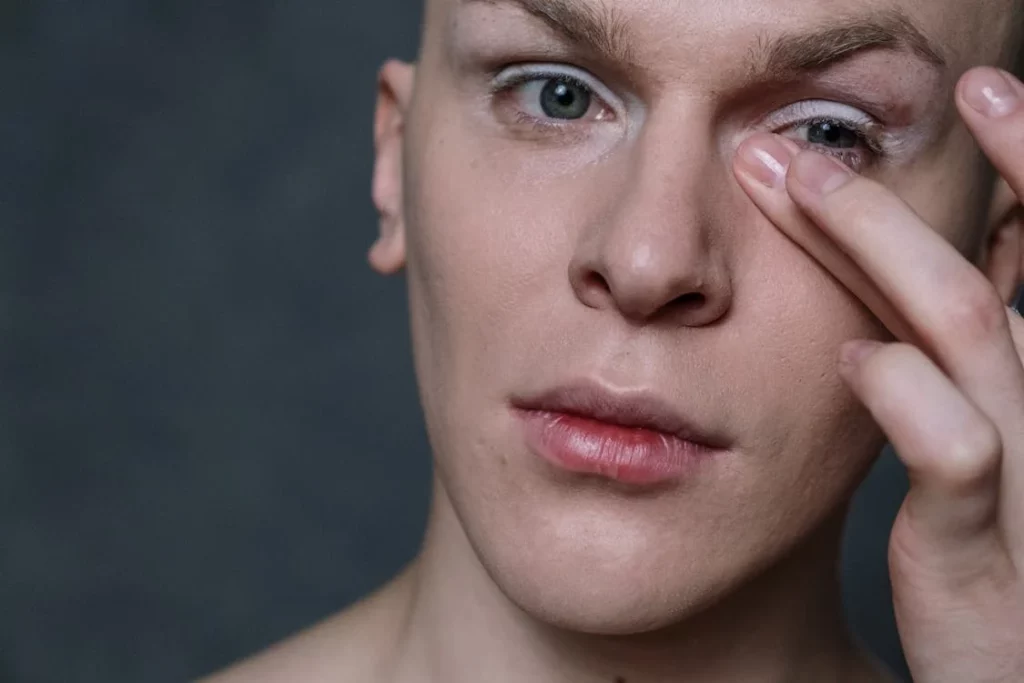
For a more intimate application method, consider using your fingers. Your fingertips provide warmth, which helps the product melt into your skin for a natural finish.
You may start with a small amount of foundation and dot it across your face, focusing on areas that need coverage. Then use circular motions and blend it outwards to ensure an even application. This method is fast and allows for greater control, perfect for those last-minute touch-ups!
Çözüm
In the debate of beauty blender vs kabuki brush, both tools offer unique benefits and techniques for applying foundation. By experimenting with each method, you can discover what works best for your skin type and makeup style. Embrace your beauty journey and elevate your routine with the right tools for a stunning complexion!
If you want to learn more about the differences between beauty blender and kabuki brush, welcome to read our detailed introduction: Güzellik Blenderi ve Kabuki Fırçası: Vakıf İçin Hangisi Daha İyi.
SSS
Çeyrek: What Do You Use a Flat Kabuki Brush For?
A flat kabuki brush is ideal for applying liquid foundations, providing a smooth, even layer that covers imperfections. Its dense bristles facilitate seamless blending, making it a favorite among makeup artists for creating a flawless base.
Çubuk: Is it better to apply foundation with a brush or beauty blender?
The choice between a brush and a beauty blender depends on the desired finish. Brushes tend to offer fuller coverage, while beauty blenders deliver a more natural, skin-like appearance.
Çeyrek: What is the best way to apply liquid foundation?
Start with a primer for a smooth base. Then use a damp beauty blender or a flat kabuki brush to apply liquid foundation in light, dabbing motions. Last, you can blend evenly from the center of your face outward, focusing on any areas that need extra coverage.


