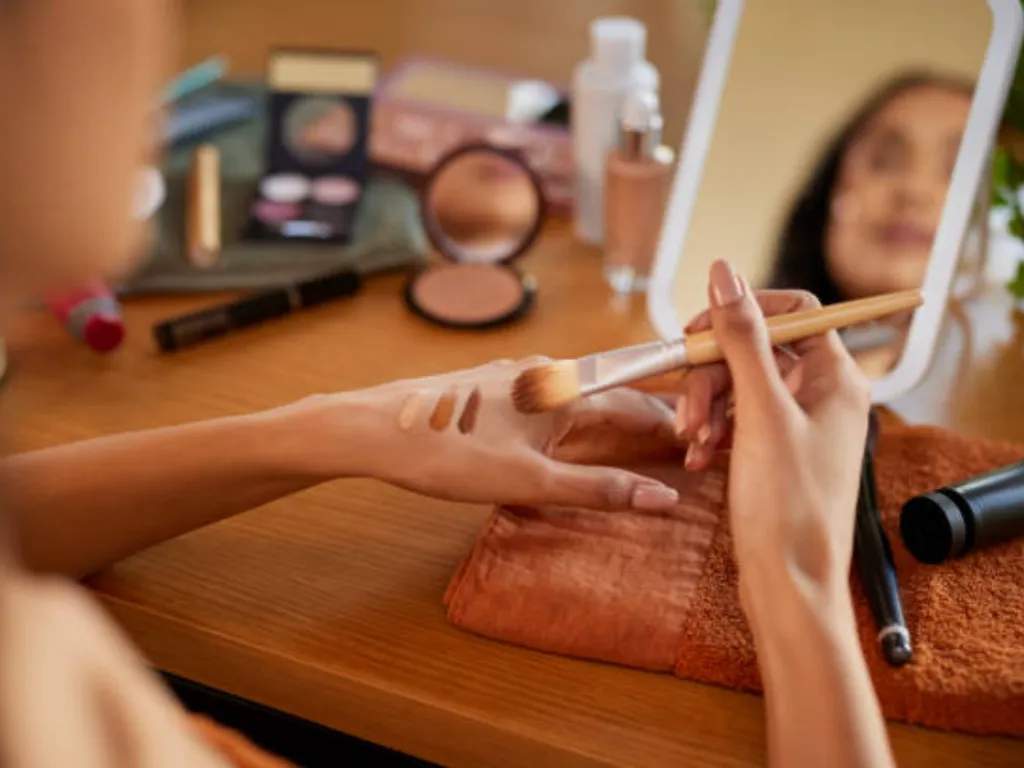


In the realm of flawless makeup application, the often-overlooked hero is the humble makeup sponge. Its efficacy, no entanto, is contingent upon proper care and storage. Como um makeup sponge manufacturer, we have this comprehensive guide for you, which delves into the intricacies of storing different types of makeup sponges, shedding light on the nuances that can elevate your beauty routine. Discover the secrets to preserving the integrity of your makeup blender sponge and enhancing the longevity of your cosmetic investment.
The Significance of Proper Storage
Proper storage of makeup sponges transcends mere organization; it is a testament to a meticulous approach to beauty. The significance lies not only in maintaining a clutter-free vanity but in safeguarding the purity of your makeup application. Let’s explore why impeccable storage is paramount.
1. Prolonged Longevity
The lifespan of your makeup sponge is intricately linked to how it’s stored. By adopting the right storage practices, you mitigate the risks of premature deterioration, ensuring your sponge remains a steadfast companion in your beauty arsenal for an extended period.
2. Hygiene as a Priority
A makeup sponge or a blending sponge, when not stored with precision, can morph into a breeding ground for bacteria. The repercussions extend beyond compromised skin health; they infiltrate your makeup routine, tarnishing the very essence of cosmetic application. Prioritizing hygiene becomes not just a choice but an imperative.
Factors Affecting Makeup Sponge Storage
Understanding the adversaries that threaten the sanctity of your makeup sponge is crucial. Familiarize yourself with these foes, and you’ll be better equipped to combat their detrimental effects.
Moisture Menace
Moisture, often underestimated, emerges as the arch-nemesis of makeup sponges. Damp conditions, whether induced by improper drying or storage in sealed containers, create a breeding ground for mold and bacteria, jeopardizing both the sponge’s texture and your skin’s well-being.
Air Circulation Conundrum
The underestimated importance of air circulation becomes evident when it comes to storing makeup sponges. Confined spaces, devoid of ventilation, pave the way for trapped humidity and, subsequently, undesirable consequences. Unlock the secrets of proper air circulation to defy this silent adversary.
Contamination Chronicles
The makeup foundation puff, a beacon of flawlessness, loses its charm when contaminated by external elements. Dust, debris, and bacteria infiltrate porous surfaces, rendering the sponge a vehicle of impurities. Shielding against these contaminations requires a strategic storage approach.
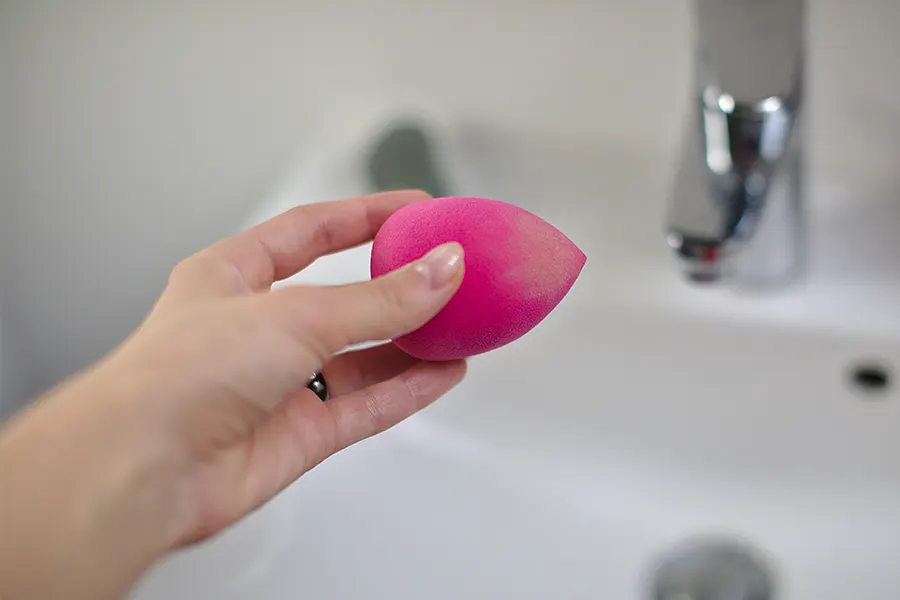
How to Clean & Dry a Blender Sponge?
How to Clean a Blender Sponge
Cleaning your blender sponge is a crucial step in maintaining a hygienic makeup routine. This section provides detailed yet straightforward steps on how to thoroughly clean your blender sponge.
Rinse Under Warm Water
Start the cleaning process by holding your blender sponge under warm running water. Allow the water to flow through the sponge, helping to loosen and remove any surface-level makeup.
Apply Gentle Soap
Apply a small amount of mild soap to the damp sponge. This soap can be a gentle hand soap, baby shampoo, or a dedicated makeup sponge cleanser. Ensure that the soap covers the entire surface of the sponge.
Work the Soap Into the Sponge
Gently work the soap into the sponge, using your fingers to create a lather. Pay extra attention to areas with stubborn makeup stains, massaging the soap to break down and lift the makeup residues effectively.
Focus on Problem Areas
For areas with heavy makeup buildup, concentrate on massaging the soap into these spots. Use your fingertips to work the soap thoroughly, ensuring that even the most stubborn makeup particles are addressed.
Enxágue bem
After working the soap into the sponge, rinse it thoroughly under warm water. Continue rinsing until the water runs clear, indicating that all soap and makeup residues have been successfully removed.
Squeeze Out Excess Water
Gently squeeze the sponge to remove excess water. Avoid wringing it too hard, as this can damage the sponge’s texture. Ensure that most of the water is expelled to expedite the drying process.
How to Dry a Makeup Sponge
Drying your blender sponge properly is equally important to maintain its texture and hygiene. This section outlines practical steps for ensuring your sponge is thoroughly dry and ready for the next use.
Air Dry in an Open Space
Place your cleaned blender sponge in an open and well-ventilated space to air dry naturally. Avoid closed containers or areas with poor air circulation, as this can lead to moisture retention and potential bacterial growth.
Avoid Direct Sunlight
While drying, keep your blender sponge away from direct sunlight. Prolonged exposure to sunlight can degrade the material and affect the sponge’s texture. Choose a shaded area for drying to maintain the integrity of your sponge.
Use a Clean Surface
Select a clean and dry surface for your blender sponge to dry on. Avoid placing it on wet or dirty countertops to prevent contamination. A clean surface contributes to the overall hygiene of your makeup tools.
Regularly Replace Old Sponges
If your blender sponge shows signs of wear, tears, or a decline in performance, it may be time for a replacement. Regularly assess the condition of your sponge and replace it to ensure effective makeup application.
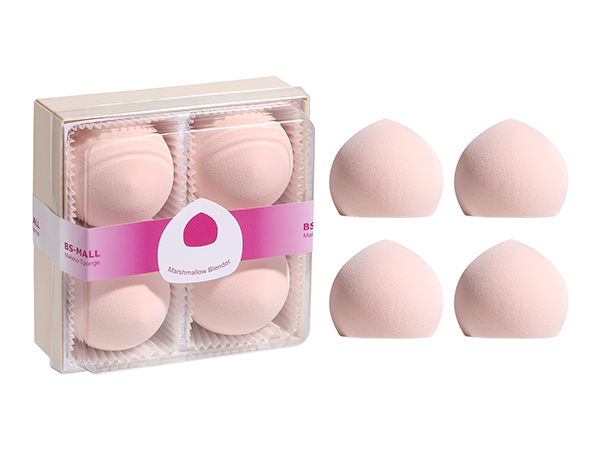
How to Store Beauty Blender After Use?
It is necessary to know how to care for makeup sponges after use. Let’s embark on the journey of mastering the art of makeup sponge storage, where precision meets creativity. Elevate your beauty blender sponge set by adopting these meticulous techniques.
Cleaning Routine
Start by cleaning your beauty blender thoroughly with a gentle soap or a dedicated makeup sponge cleanser. This helps remove any makeup residue and keeps the sponge ready for the next use. Rinse it under running water until the water runs clear, ensuring a clean slate.
Simple Air Drying
After cleansing, allow your beauty blender to air dry completely. Find a well-ventilated area, and lay the sponge down to dry naturally. This step is crucial to prevent the growth of bacteria and mold, ensuring your beauty blender remains a hygienic tool for your makeup routine.
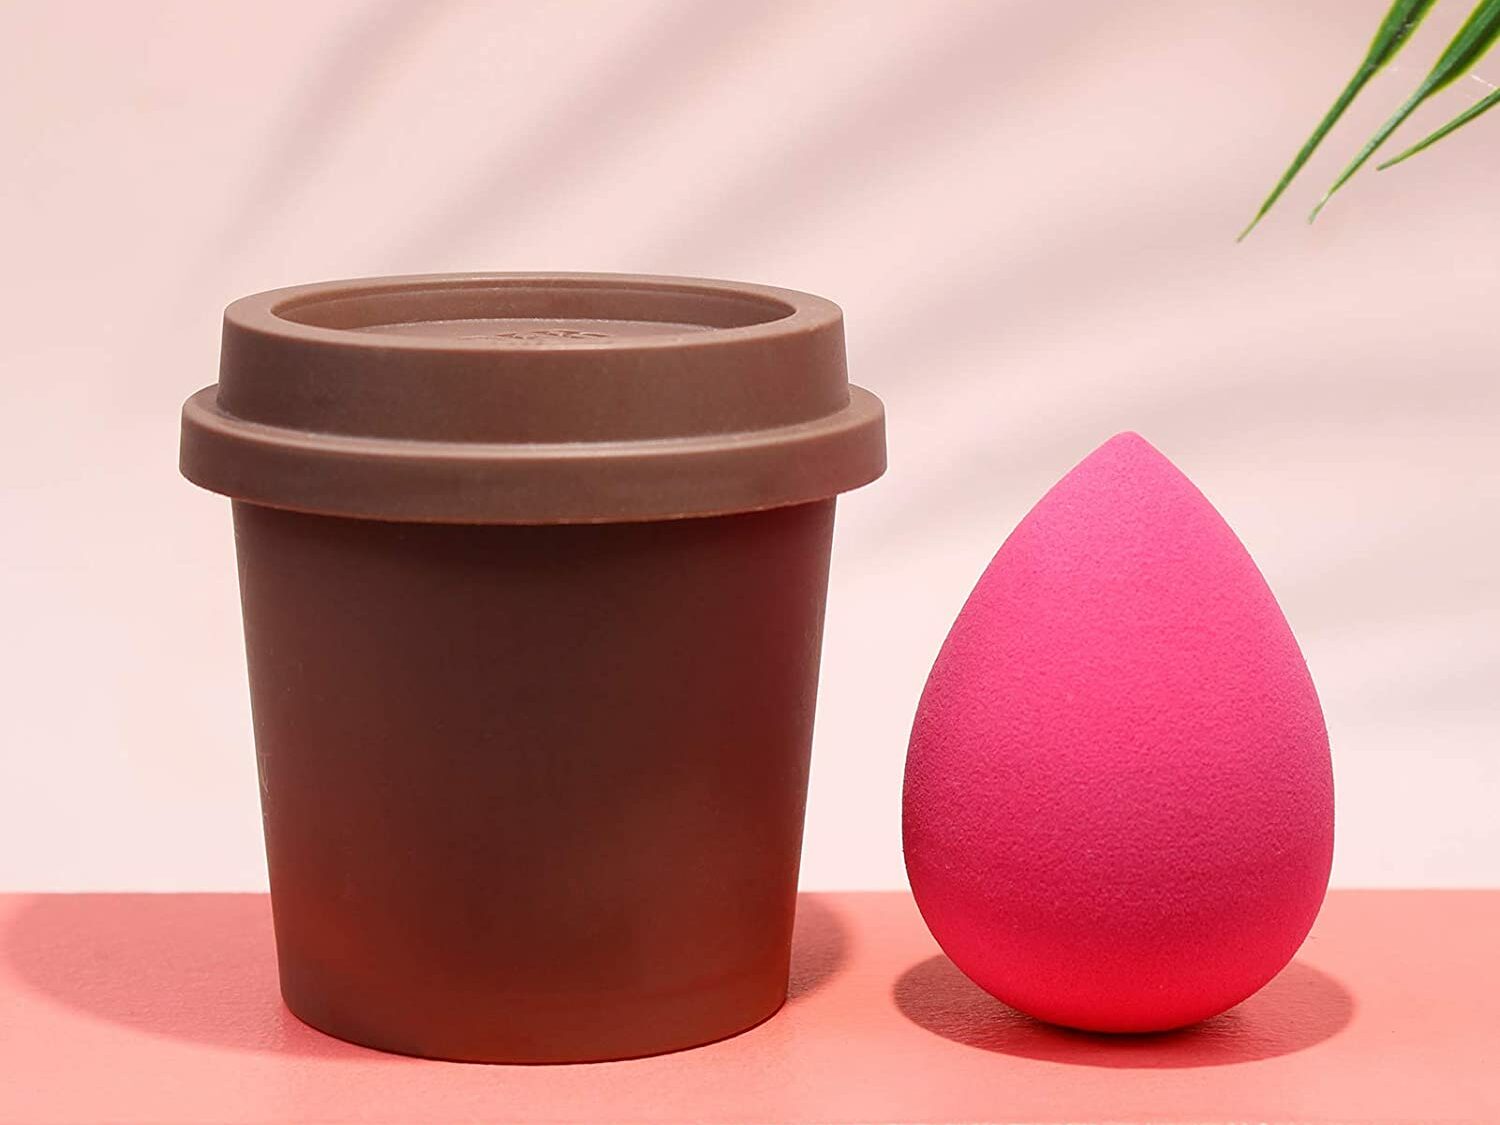
Avoid Closed Containers
Opt for an open and breathable storage approach. Avoid sealing your beauty blender in closed containers or makeup bags. Allowing air circulation prevents moisture retention, reducing the risk of bacterial growth. Choose a location where your beauty blender can breathe and stay dry between uses.
Sunlight Protection
Protect your beauty blender from direct sunlight exposure. Prolonged sunlight can degrade the material and affect the sponge’s performance. Store it in a shaded area or away from windows to maintain its integrity and ensure it lasts longer.
Clean Surface Matters
When it’s time to store your beauty blender, choose a clean and dry surface. Avoid placing it on wet or dirty countertops to prevent contamination. A clean surface ensures that your beauty blender remains a sanitary tool for your daily makeup routine.
Regular Replacement Awareness
How often do you change your makeup sponge? Be mindful of the condition of your beauty blender. If you notice signs of wear, tears, or a decline in performance, it’s time for a replacement. Regularly assessing and replacing your beauty blender ensures that you always have an effective tool for achieving a flawless makeup finish.
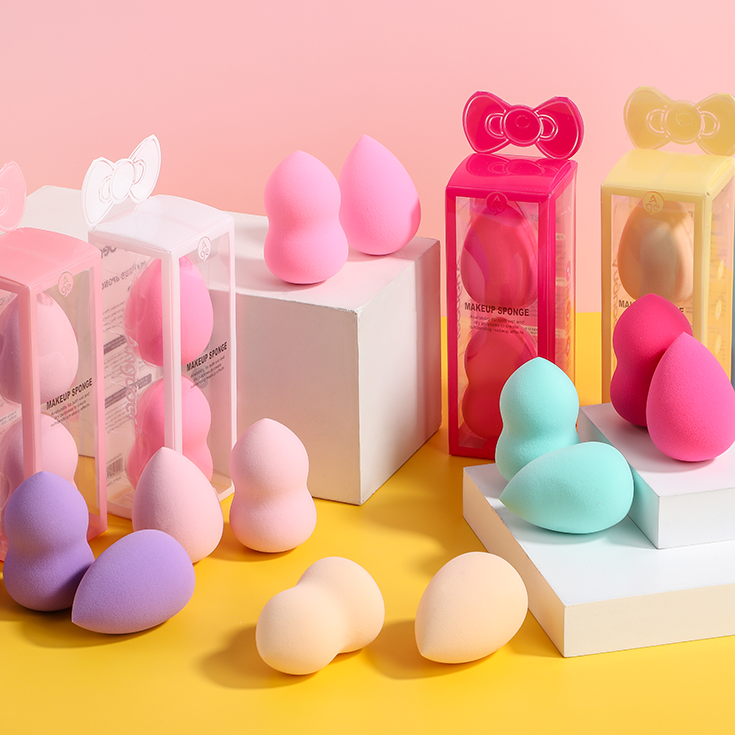
Simple DIY Makeup Sponge Storage Ideas
Makeup sponge storage can be both practical and visually appealing. Explore these easy and functional DIY storage ideas that will not only keep your beauty tools organized but also add a touch of charm to your vanity.
Soft Velvet Pouch
Create a soft velvet pouch for your makeup sponge using repurposed fabric. This simple DIY ensures your sponge is cradled in luxury, providing an elegant and portable solution for on-the-go touch-ups.
Spice Rack Organizer
Transform an old spice rack into a practical storage solution for your makeup sponges. The spice rack not only keeps your tools organized but also serves as a decorative piece, adding a touch of glamour to your beauty space.
Palette Storage
Repurpose old eyeshadow or blush palettes to create a chic storage unit for your makeup sponges. This easy DIY not only enhances the aesthetics of your vanity but also aligns with sustainable beauty practices.
Conclusão
In the pursuit of flawless beauty, the journey begins with the basics – the proper storage of your makeup sponge set. Elevate your cosmetic experience by embracing meticulous techniques, mastering the art of storage, and infusing creativity into every facet of your beauty routine. Let this ultimate guide be your beacon, leading you towards a realm where your makeup sponge remains a cherished ally, ensuring each stroke of perfection is accompanied by a touch of elegance.