


There’s something uniquely satisfying about having the right tools at your disposal, isn’t there? Just as an artist requires specific brushes to bring a masterpiece to life, your makeup routine hinges on understanding the purpose of each brush. Whether you’re perfecting a subtle daytime look or going all out for a glamorous evening, knowing all makeup brushes names and uses can elevate your skills. This guide will walk you through the essential brushes, breaking down their types and how to use them to achieve a flawless finish.
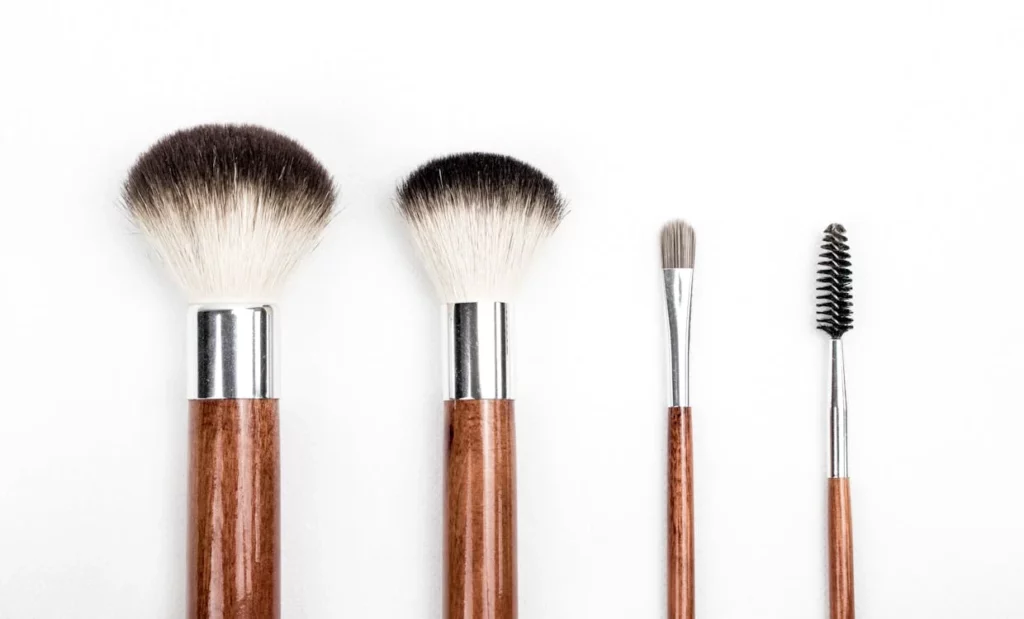
General Face Brushes
Your face is the canvas for your makeup, and the right brushes are your tools. Understanding the various face brushes and their specific uses is key to achieving a flawless base.
Kuas Alas Bedak
Foundation Brush Types and Uses
- Sikat pondasi datar: This classic brush features densely packed bristles with a flat, rounded edge, ideal for liquid foundation. It allows for precise application, offering full coverage with a smooth finish. Perfect for reaching the contours of the face, such as around the nose and eyes.
- Tapered Foundation Brush: With a pointed tip, this brush is designed for precision. It provides a seamless application, especially around delicate areas of the face. Its shape allows for blending liquid and cream foundations effortlessly.
- Kuas Titik-titik: Featuring dual-layer bristles, this brush is perfect for achieving a light, airbrushed effect. The flat, circular head of the brush allows you to build coverage gradually, making it ideal for liquid or cream foundations.
- Buffing Brush: A densely packed, rounded brush that works well with liquid, krim, or powder foundations. It buffs the product into the skin, providing a flawless, Hasil akhir alami.
- Kuas Kabuki: Known for its short handle and dense bristles, the Kabuki brush is versatile, offering full coverage application for both liquid and powder foundations. It’s particularly effective for buffing and blending.
Foundation Brush Use Guide
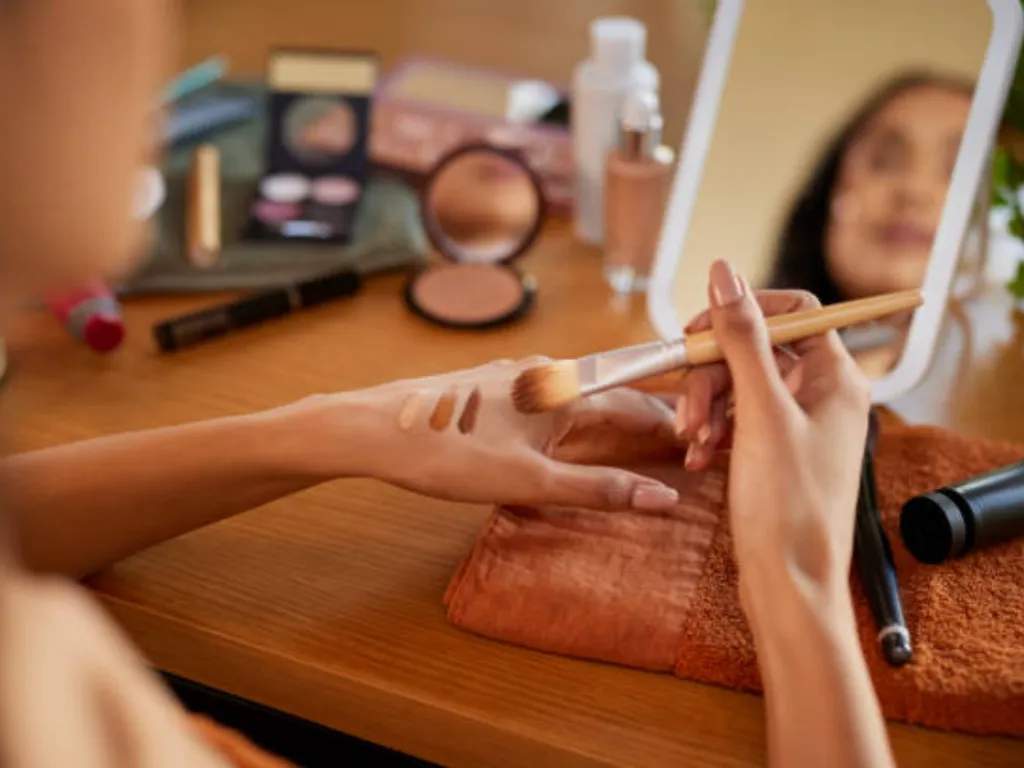
To use a foundation brush, start by applying a small amount of foundation to the back of your hand. Dip the brush into the foundation and begin applying it to your face, starting from the center and working your way outwards. Gunakan dengan lembut, circular motions for a natural finish, and don’t forget to blend well at the jawline and hairline to avoid any harsh lines.
Kuas Concealer
Concealer Brush Types and Uses
- Flat Concealer Brush: This brush features a flat, slightly tapered edge, perfect for applying concealer to larger areas. It provides smooth, bahkan cakupan, making it ideal for covering dark circles and blemishes.
- Precision Concealer Brush: Smaller and more precise, this brush is designed for targeted application. It’s perfect for concealing small imperfections, like blemishes or hyperpigmentation.
Concealer Brush Use Guide
To apply concealer, dab a small amount of product onto the brush. For under-eye areas, gently sweep the brush in a triangular shape from the inner corner of your eye to the outer edge. For blemishes, use a dabbing motion to apply concealer directly onto the spot, then blend the edges gently to merge with your foundation.
Kuas Bedak
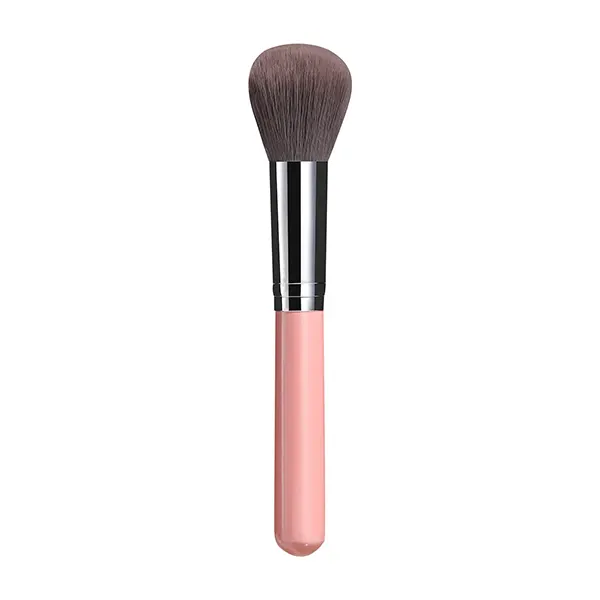
Powder Brush Types and Uses
- Loose Powder Brush: Besar, empuk, and soft, this brush is designed to pick up and distribute loose powder evenly across the face. It provides a light, Hasil akhir alami, perfect for setting foundation without looking cakey.
- Pressed Powder Brush: Typically smaller and denser than a loose powder brush, it’s ideal for applying pressed powder with more precision. It’s great for areas that need a little extra coverage or shine control.
Powder Brush Use Guide
To apply powder, dip the brush into the product, Ketuk kelebihan, and lightly dust it over your face. Focus on areas that tend to get oily, like the T-zone. For a more natural look, use a loose powder brush for a light application, or a pressed powder brush for a more controlled, cetak dof.
Kuas Perona Pipi
Blush Brush Types and Uses
- Sikat blush miring: This brush features a slanted shape that fits perfectly into the contours of your cheeks. It allows for precise application, ensuring that blush is applied exactly where you want it, for a natural flush.
Blush Brush Use Guide
To apply blush, smile to find the apples of your cheeks. Dip the brush into your blush, Ketuk kelebihan, and sweep it from the apples of your cheeks towards your temples. Use light, upward strokes for a natural look, or layer for more intensity.
Kuas Kontur
Contour Brush Types and Uses
- Flat Contour Brush: With a straight edge, this brush is ideal for creating sharp, defined contour lines. It’s perfect for chiseling the cheekbones and jawline.
- Angled Contour Brush: Similar to the angled blush brush, this brush’s shape allows it to hug the contours of your face, making it easier to apply contour powders seamlessly.
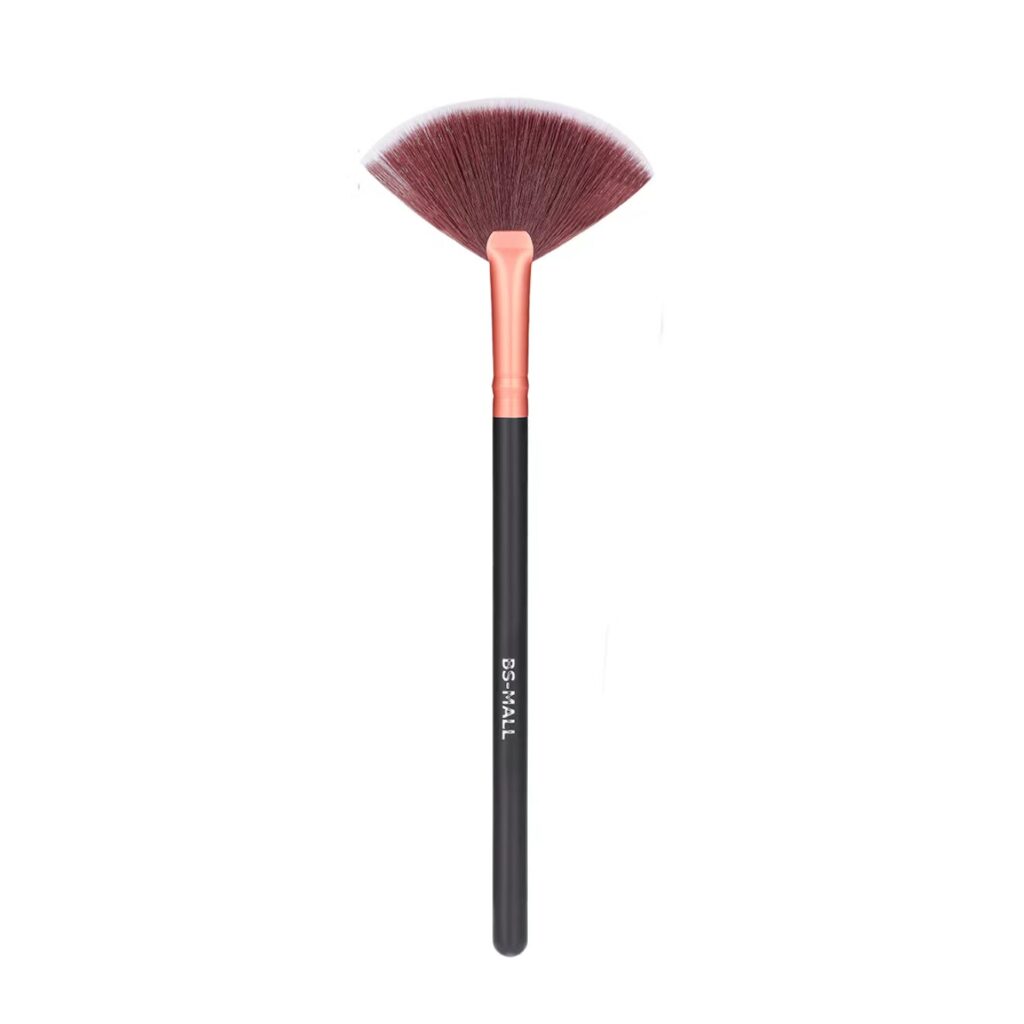
- Kuas Kipas: Known for its fan-like shape, this brush is ideal for applying a soft contour or highlighting. It’s also great for dusting off excess powder or applying a light layer of bronzer.
Contour Brush Use Guide
To contour, start by dipping your brush into a contour powder. Apply it under your cheekbones, along your hairline, and under your jawline, blending well to avoid harsh lines. Use the flat contour brush for a more defined look, or the angled contour brush for a softer effect. The fan brush can be used for a light contour or to blend out any harsh lines.
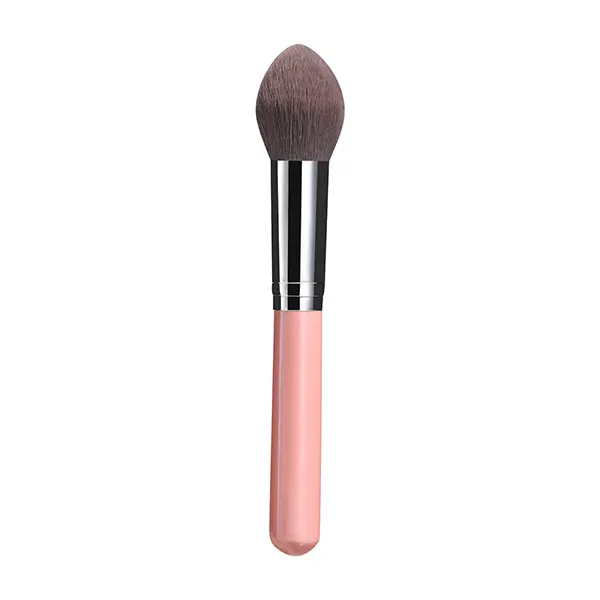
Highlight Brush
Highlight Brush Types and Uses
- Tapered Highlight Brush: This brush has a small, tip runcing, perfect for applying highlighter to the high points of your face with precision. It’s ideal for the tops of the cheekbones, the bridge of the nose, and the cupid’s bow.
- Kuas Kipas: The fan brush’s wide, flat shape makes it perfect for applying a soft, diffused highlight. It can also be used to dust away excess product or to apply a light layer of shimmer.
Highlight Brush Use Guide
To apply highlighter, dip your brush into the product and lightly sweep it over the high points of your face. Use the tapered brush for more precision, focusing on areas like the cheekbones and nose. The fan brush can be used for a softer, all-over glow.
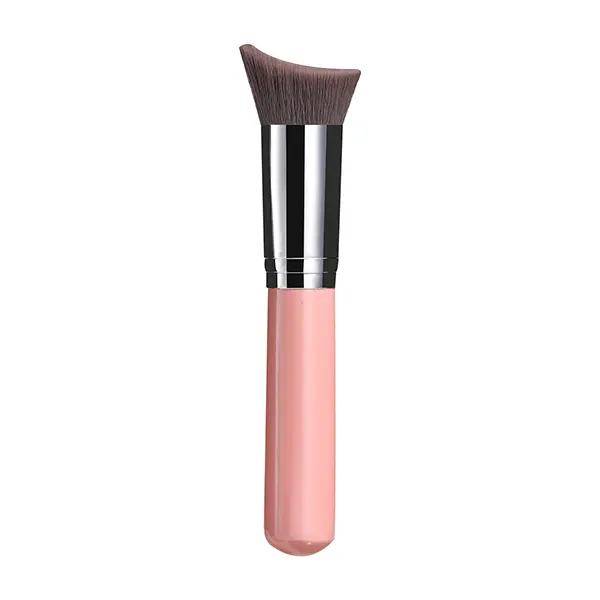
Silicone Blender
Silicone Blender Uses
A silicone blender is a unique tool that provides a smooth, streak-free application of liquid and cream products. Berbeda dengan spons tradisional, it doesn’t absorb any product, making it more efficient and easier to clean.
Silicone Use Guide
To use a silicone blender, apply a small amount of product to the blender or directly onto your face. Use a dabbing motion to blend the product into your skin. For a flawless finish, ensure that you blend well, especially around the edges.
Blender Kecantikan
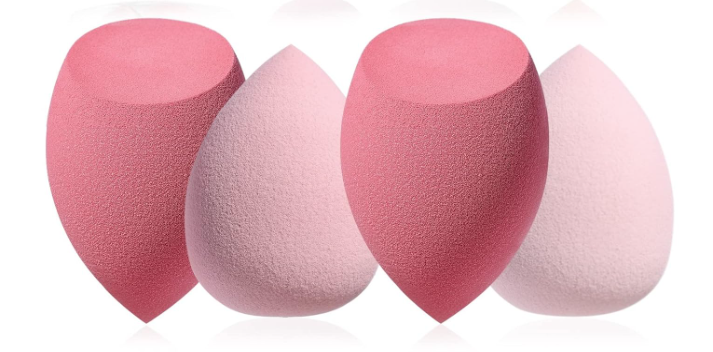
Beauty Blender Uses
The Beauty Blender is a versatile makeup sponge designed for blending foundation, concealer, and other cream products. Itu unik, egg-shaped design allows for seamless blending, giving your skin a natural, Airbrushed finish.
Beauty Blender Guide
To use a Beauty Blender, dampen the sponge until it’s fully expanded. Squeeze out any excess water, and then use it to apply and blend your makeup. Use the rounded end for larger areas of your face and the pointed tip for hard-to-reach spots like around the nose and under the eyes.
General Eye Brushes
The eyes are often the focal point of any makeup look. With the right eye brushes, you can create everything from subtle daytime looks to dramatic evening glamour with precision.
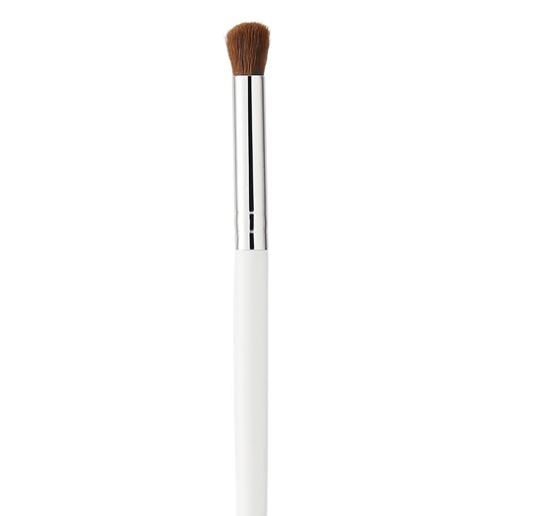
Kuas Perona Mata
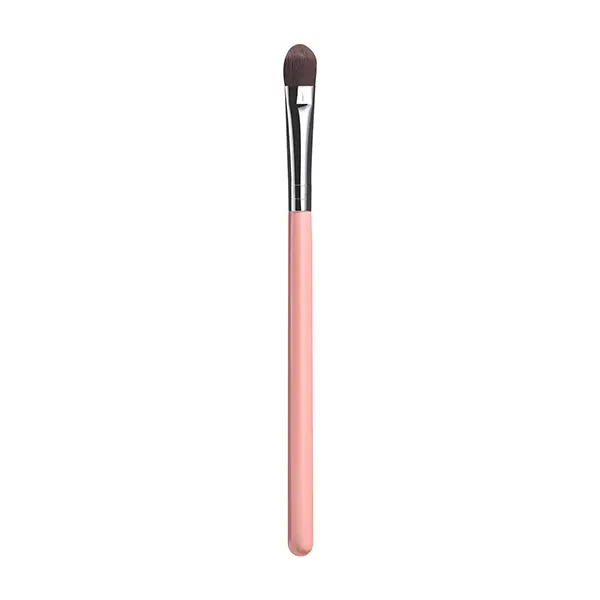
Eyeshadow Brush Types and Uses
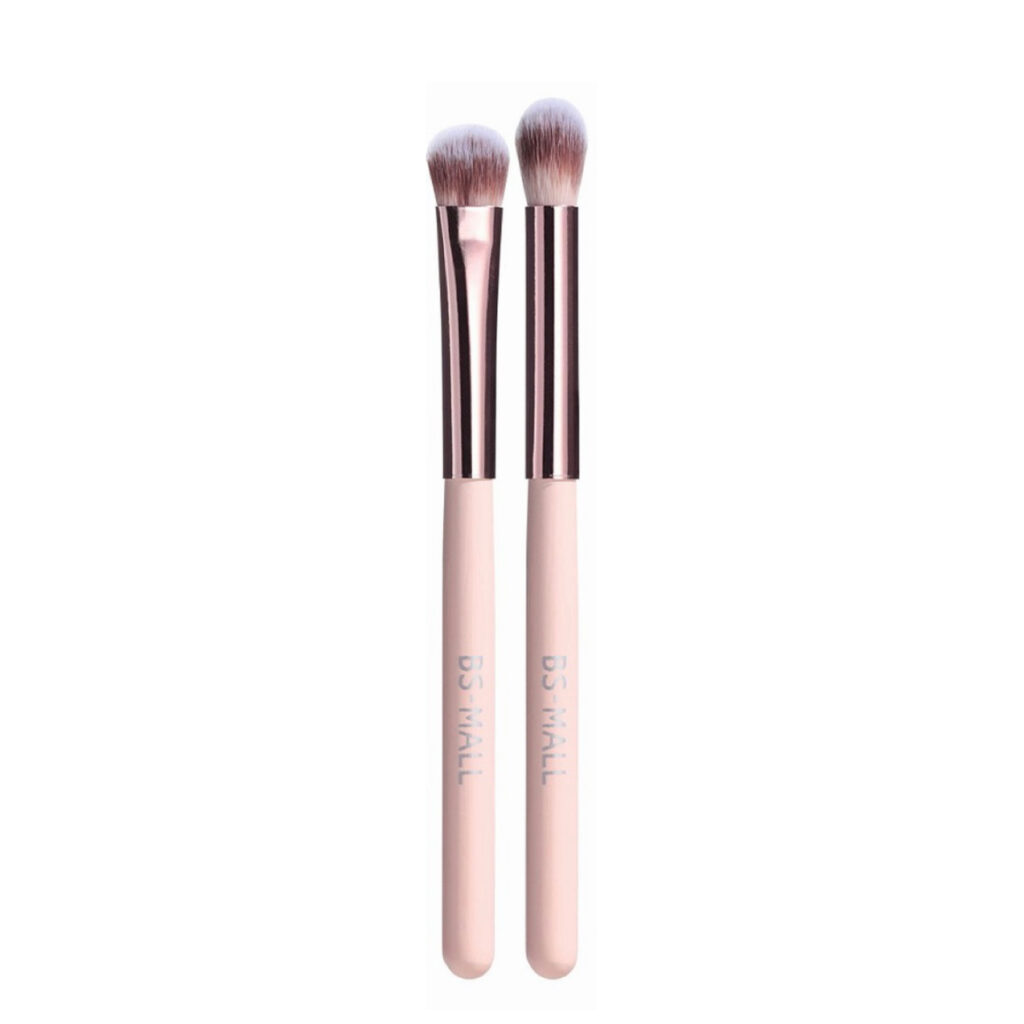
- Flat Eyeshadow Brush: Sikat ini memiliki datar, dense shape, perfect for packing on color across the eyelid. It’s ideal for applying both powder and cream shadows with maximum pigment payoff.
- Blending Brush: Fluffy and soft, this brush is essential for blending out harsh lines and creating a seamless gradient of color on the eyes. It’s perfect for achieving a smokey eye or blending multiple shades together.
- Tapered Blending Brush: This brush is slightly more pointed than a standard blending brush, allowing for more precision in the crease or outer corner of the eye. It’s great for adding depth and dimension to your eye look.
Eyeshadow Brush Use Guide
To apply eyeshadow, start with a flat brush to pack color onto your lid. Use a blending brush to soften the edges and blend different shades together. For more detailed work, like adding depth to the crease, use a tapered blending brush to apply and blend the shadow with precision.
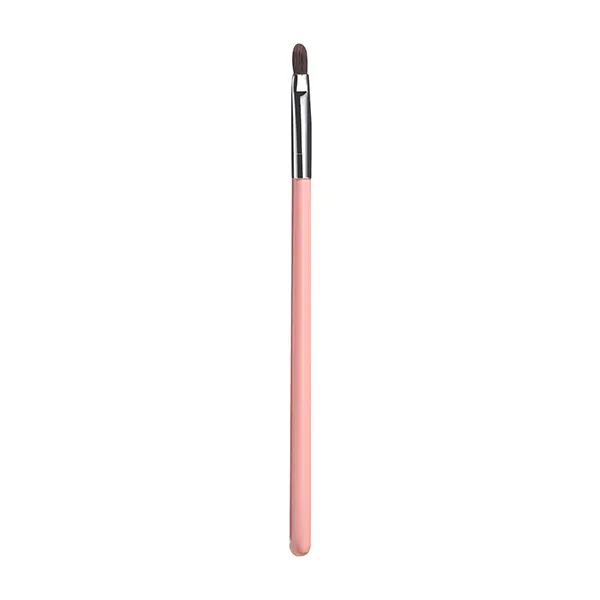
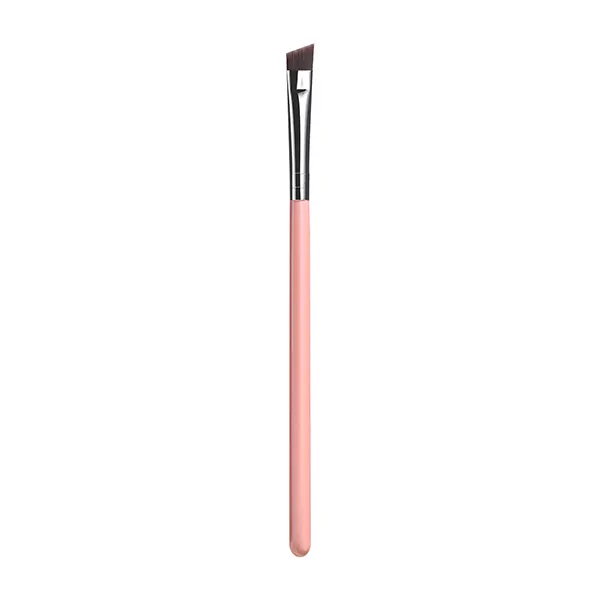
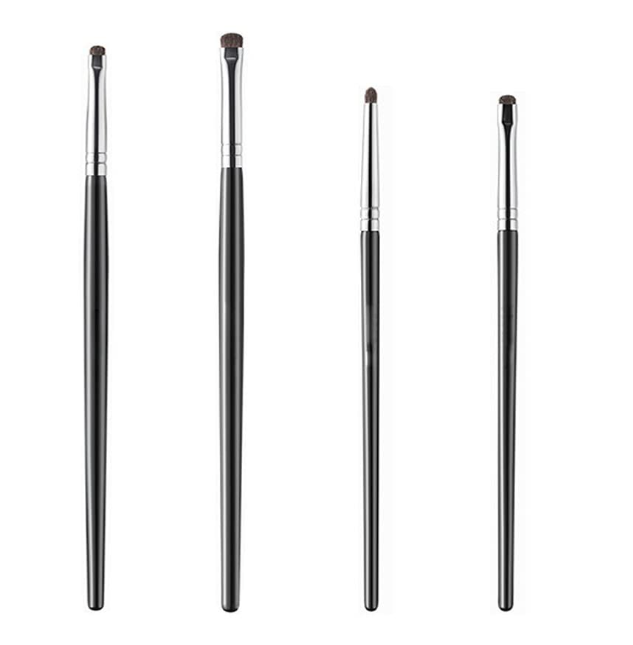
Kuas Eyeliner
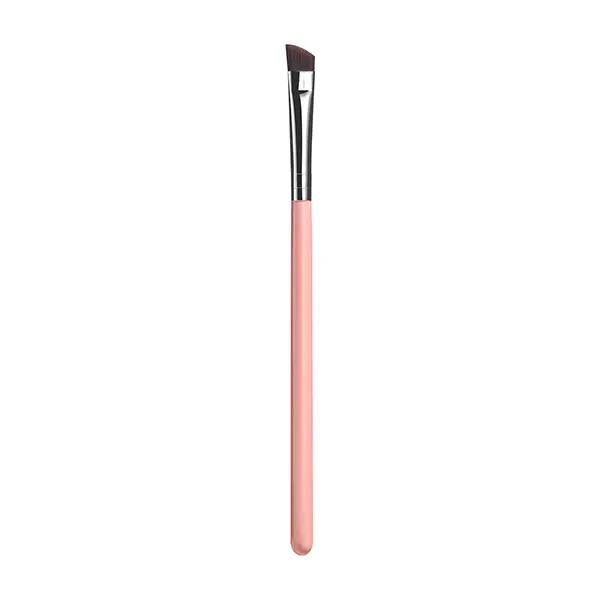
Eyeliner Brush Types and Uses
- Angled Eyeliner Brush: This brush’s angled shape allows for precise application of gel or cream eyeliner, making it easy to create sharp lines or winged effects.
- Flat Definer Brush: With a flat, square edge, this brush is perfect for applying eyeliner along the lash line or for smudging out pencil eyeliner for a smokey effect.
- Detail Brush: Kecil, fine-tipped brush that’s ideal for detailed eyeliner work. It’s perfect for creating intricate designs or tightlining the eyes.
Eyeliner Brush Use Guide
To apply eyeliner, dip your brush into the product and start from the inner corner of your eye, working your way outwards. Use the angled brush for winged eyeliner or precise lines, the flat definer brush for a smokier look, and the detail brush for more intricate work.
Kuas Alis
Brow Brush Types and Uses
- Angled Brow Brush: This brush is a staple in any brow routine. With its firm, angled bristles, it’s designed to apply brow powder, pomade, or wax with precision. The angled shape allows for easy filling and shaping of the brows, helping you create defined lines and a natural-looking arch.
- Spoolie Brush: A spoolie brush resembles a mascara wand and is used to comb through the brow hairs. It helps to blend the product applied with an angled brush, ensuring the brows look soft and natural. It’s also great for taming unruly hairs and setting them in place.
- Brow Comb and Brush: This dual-ended tool features a comb on one side and a brush on the other. The comb is perfect for separating brow hairs and removing excess product, while the brush side can be used to smooth and shape the brows, giving them a polished finish.
Brow Brush Use Guide
To achieve perfectly groomed brows, start by brushing the brow hairs upward using a spoolie brush. This reveals the natural shape of your brows and helps identify areas that need filling. Berikutnya, use an angled brow brush to apply brow powder or pomade in short, hair-like strokes, following the direction of your natural brow growth. Blend the product with the spoolie brush to soften any harsh lines. Akhirnya, use the brow comb to perfect the shape and ensure that each hair is in place, completing your look with precision.
Pencil Brush
Pencil Brush Uses
A pencil brush is an essential tool for adding detail to your eye makeup. With its small, ujungnya meruncing, it’s perfect for applying color to precise areas, such as the lash line, the inner corner of the eyes, or even the crease. The pencil brush is also excellent for smudging eyeliner or creating a smoky effect, allowing you to blend colors with accuracy.
Pencil Brush Use Guide
To use a pencil brush, dip the tip into your chosen product, whether it’s eyeshadow or eyeliner. Apply the color by gently pressing the brush against the area you wish to define, such as the lash line or the crease. For a smoky effect, use the brush to blend and soften the edges of the product. The pointed shape of the pencil brush gives you control, making it easier to achieve detailed and precise makeup looks.
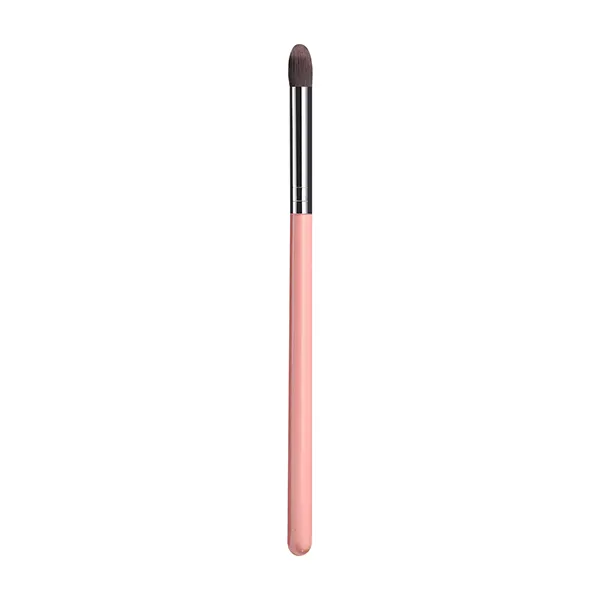
Crease Brush
Crease Brush Uses
A crease brush is specifically designed to apply and blend eyeshadow in the crease of the eye, adding depth and dimension to your makeup. Its rounded, tapered bristles fit perfectly into the crease, making it ideal for defining the eye socket and enhancing the natural contour of the eye. The crease brush is a must-have for creating both subtle and dramatic eye looks.
Crease Brush Use Guide
To use a crease brush, load it with a small amount of eyeshadow, tapping off any excess. Place the brush into the crease of your eye and use windshield wiper motions to blend the color back and forth. This technique helps to create a gradient effect, with the most intense color concentrated in the crease and gradually fading out. For added depth, layer darker shades in the crease, blending thoroughly to avoid harsh lines.
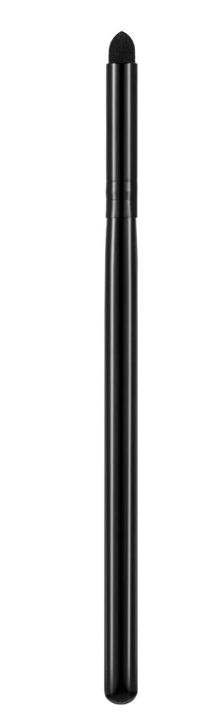
Kuas Noda
Smudge Brush Uses
A smudge brush is your go-to tool for creating sultry, smoky eyes. With its short, bulu lebat, this brush is designed to precisely blend eyeliner and eyeshadow along the lash line, memberikan yang lembut, tampilan yang tersebar. It’s perfect for smudging pencil or gel liners, as well as for applying eyeshadow to small, concentrated areas, such as the lower lash line.
Smudge Brush Use Guide
To use a smudge brush, apply your eyeliner or eyeshadow along the lash line, then use the brush to gently smudge the product. Use small, controlled strokes to soften the edges and create a smoky effect. The smudge brush is also effective for blending out darker eyeshadows in the outer corners of the eyes, adding intensity to your look. With its compact size and dense bristles, the smudge brush allows for precise application, making it an indispensable tool for achieving a sultry, hasil akhir yang tercampur.
General Lip Brushes
Lips are the finishing touch to any makeup look, and using the right brushes ensures precision and finesse. With the right lip brushes, you can achieve perfectly defined and polished lips.
Kuas Bibir
Lip Brush Types and Uses
- Flat Lip Brush: A flat lip brush is characterized by its firm, square-shaped bristles that are ideal for applying lipstick with precision. This brush helps in creating a defined lip line and evenly distributing color across the lips. It’s perfect for achieving a polished, professional finish and for blending different shades to create custom lip colors.
- Precision Lip Brush: The precision lip brush features a smaller, pointed tip that offers even greater control when applying lip products. It’s particularly useful for defining the edges of the lips, filling in corners, and applying lip color to the cupid’s bow with accuracy. This brush is essential for creating crisp, sharp lines and for applying lip color to smaller or more detailed areas.
Lip Brush Use Guide
To use a lip brush, start by dipping the bristles into your chosen lip product. For a flat lip brush, begin by outlining the lips with the edge of the brush, then fill in the center using broader strokes. The flat shape ensures even application and helps in achieving a smooth, uniform finish. If using a precision lip brush, focus on defining the lip edges first, particularly around the cupid’s bow and corners, before filling in the rest of the lips. The pointed tip of the precision brush allows for meticulous application, memastikan tanpa cacat, well-defined lip look.
Kuas Penggaris Bibir
Lip Liner Brush Uses
A lip liner brush is specifically designed to apply lip liner with precision and control. Unlike traditional lip liners, which can sometimes be harsh or difficult to blend, a lip liner brush allows for smooth, bahkan aplikasi, making it easier to create a defined lip shape. It’s ideal for lining the lips before applying lipstick or gloss, helping to prevent feathering and ensuring a clean, professional finish.
Lip Liner Brush Use Guide
To use a lip liner brush, load the brush with lip liner or a small amount of lipstick, if you prefer. Begin by outlining the natural shape of your lips, starting from the cupid’s bow and working outward. The lip liner brush’s firm bristles provide control, allowing you to create a sharp, clean line. After outlining, you can slightly blend the liner inward towards the center of the lips, creating a seamless transition between the liner and your lipstick. This technique not only enhances the shape of your lips but also helps to keep your lip color in place throughout the day.
Miscellaneous Brushes
Beyond the basics, these miscellaneous brushes serve specialized purposes in your makeup routine. Each one plays a crucial role in perfecting the finer details of your look.
Blemish Brush
Blemish Brush Uses
A blemish brush is designed for targeted application of concealer or treatment products to blemishes and imperfections. Its small, dense bristles allow for precise placement of product, ensuring that blemishes are effectively covered without caking or spreading to surrounding areas. This brush is perfect for spot concealing and for applying product to small, hard-to-reach areas of the face.
Blemish Brush Use Guide
To use a blemish brush, dip the tip into your concealer or treatment product, then gently dab it onto the blemish. Use a light tapping motion to blend the product into the skin, being careful not to disturb the surrounding area. The dense bristles of the blemish brush provide maximum coverage while ensuring a natural finish. For best results, set the concealed area with a light dusting of powder to keep the product in place.
Mascara Wand
Mascara Wand Uses
A mascara wand is an essential tool for defining, lengthening, and volumizing the lashes. Depending on the shape and design of the bristles, it can be used to create different effects, from natural, separated lashes to dramatic, voluminous ones. Mascara wands are also used to apply product to the lower lashes and to separate lashes after applying mascara, ensuring a clump-free finish.
Mascara Wand Use Guide
To use a mascara wand, begin by gently wiggling the brush at the base of your lashes, then pull it through to the tips. This technique helps to coat each lash evenly while adding volume at the roots. For added length, apply a second coat, focusing on the tips of the lashes. If your mascara wand has a curved design, use the curve to lift and curl the lashes as you apply. For lower lashes, use the tip of the wand to apply mascara in a light, tapping motion, avoiding smudges. After application, you can use a clean mascara wand to comb through the lashes, separating them and removing any excess product for a polished finish.
Lash Comb
Lash Comb Uses
A lash comb is designed to separate lashes and remove clumps of mascara, giving the lashes a more natural and defined appearance. It’s particularly useful for achieving a polished, professional look after mascara application, ensuring that each lash is perfectly separated and free of excess product.
Lash Comb Use Guide
To use a lash comb, wait until your mascara is almost dry, then gently comb through your lashes from root to tip. Start at the base of the lashes and carefully work the comb upward, separating any lashes that are stuck together. For best results, use a metal-toothed lash comb, as it provides more precision and is less likely to bend or break. After combing, check your lashes for any remaining clumps and repeat the process if necessary. This technique ensures that your lashes look long, full, and perfectly separated.
Retractable Brush
Retractable Brush Uses
A retractable brush is a versatile, portable tool that can be used for applying various makeup products, termasuk bubuk, memerah, and bronzer. Its retractable design makes it perfect for on-the-go touch-ups, as it protects the bristles from damage and keeps your makeup bag clean. This brush is a convenient option for those who want to carry a multi-purpose tool without taking up too much space.
Retractable Brush Use Guide
To use a retractable brush, twist the base to reveal the bristles, then load the brush with your chosen product. Apply the product to your face using circular motions, starting with a light application and building up as needed. When finished, twist the base again to retract the bristles back into the handle, protecting them from dirt and damage. The retractable brush is an excellent tool for touch-ups throughout the day, as it’s easy to store and carry, ensuring that your makeup remains flawless wherever you go.
Tips to Clean Makeup Brush
Clean brushes are essential for both hygiene and makeup performance. Regular cleaning removes product buildup, bacteria, and oils, ensuring that each tool from your all makeup brushes name list delivers optimal results. Here are some effective tips to keep your brushes pristine:
- Use Gentle Cleansers: Opt for mild soaps or dedicated brush cleansers to avoid damaging the bristles. Avoid harsh detergents that can strip the brushes of their softness.
- Clean Brushes Regularly: Aim to clean your brushes at least once a week, especially those used for liquid or cream products, to prevent bacteria buildup.
- Avoid Water at the Base: When washing, focus on the bristles and avoid soaking the base, as this can weaken the glue holding the brush together.
- Bilas sampai bersih: Ensure all soap is rinsed out completely to prevent residue from affecting your makeup application.
- Reshape and Air Dry: After rinsing, gently squeeze out excess water, membentuk kembali bulunya, and lay the brushes flat on a clean towel to dry naturally. Avoid standing them upright, as water can seep into the handle.
- Deep Clean Monthly: For a deeper clean, soak your brushes in a mixture of warm water and a few drops of brush cleanser for about 10 menit, then rinse and dry as usual.
Kesimpulan
In the end, mastering makeup is as much about technique as the tools you use. By familiarizing yourself with all makeup brushes names and uses, you gain control over your beauty routine, ensuring every product is applied with precision. Each tool plays a crucial role in crafting your look, from the perfect foundation brush to the ideal lip brush. With this knowledge, your makeup application will be more effective and enjoyable, as you confidently reach for the right brush every time.